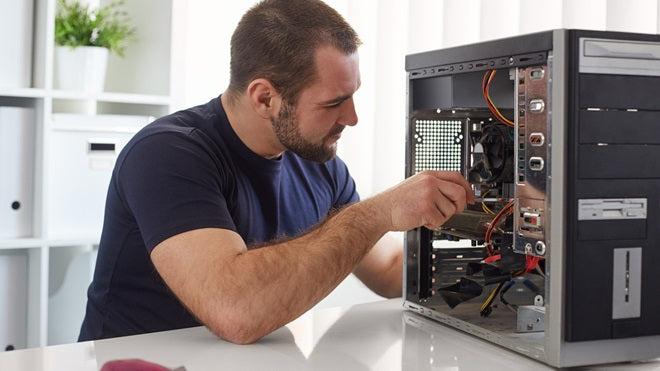
Building your own PC from scratch can be an exciting and rewarding experience, allowing you to tailor the components to your specific needs and preferences. Whether you're a novice or a seasoned enthusiast, here's a comprehensive guide to help you navigate the process of assembling your custom PC.

1. Planning and Component Selection
-
Define Purpose: Determine the PC's primary purpose—gaming, content creation, or general use—to guide component selection.
-
Choose Components: Select a compatible CPU, motherboard, GPU, RAM, storage, power supply, case, and cooling solutions based on your budget and requirements.
2. Prepare Your Workspace
-
Clean Workspace: Clear a spacious, well-lit area with ample room to assemble and maneuver components.
-
Tools: Gather essential tools such as a screwdriver, cable ties, and an anti-static wrist strap to prevent damage from static electricity.
3. Assembly Process
-
Prepare the Case: Start by installing the PSU (Power Supply Unit) in the case and connect necessary cables to the motherboard.
-
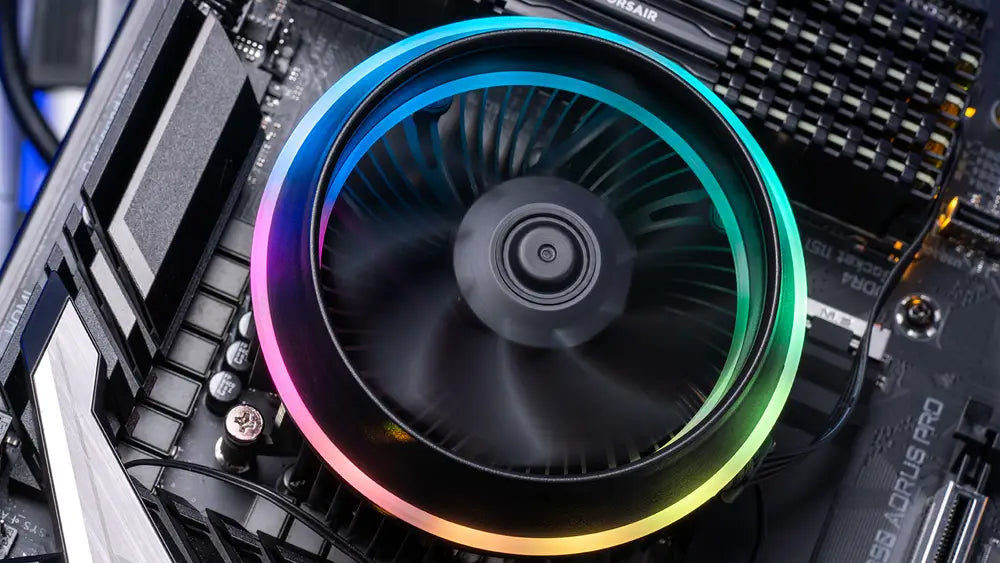
Install CPU and RAM: Carefully place the CPU into the motherboard's socket, apply thermal paste, and attach the CPU cooler. Install RAM into the designated slots following the motherboard's instructions.
-
Mount the Motherboard: Secure the motherboard to the case using standoffs, aligning the I/O ports with the case cutouts.
-
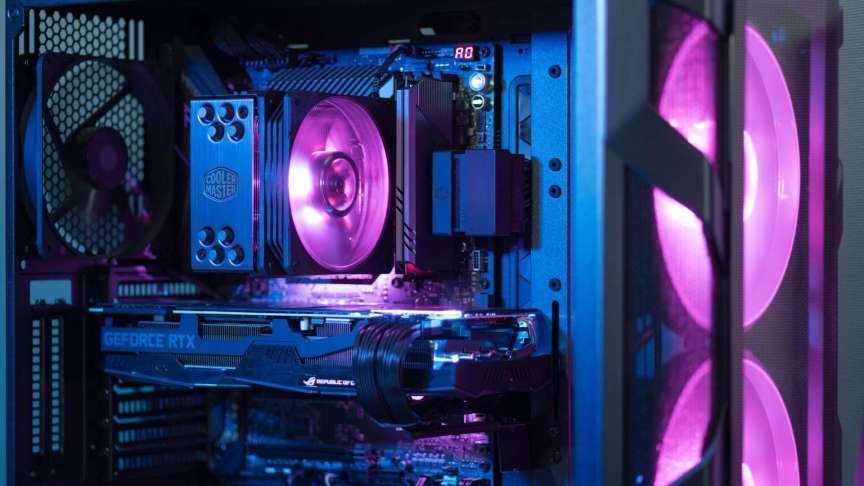
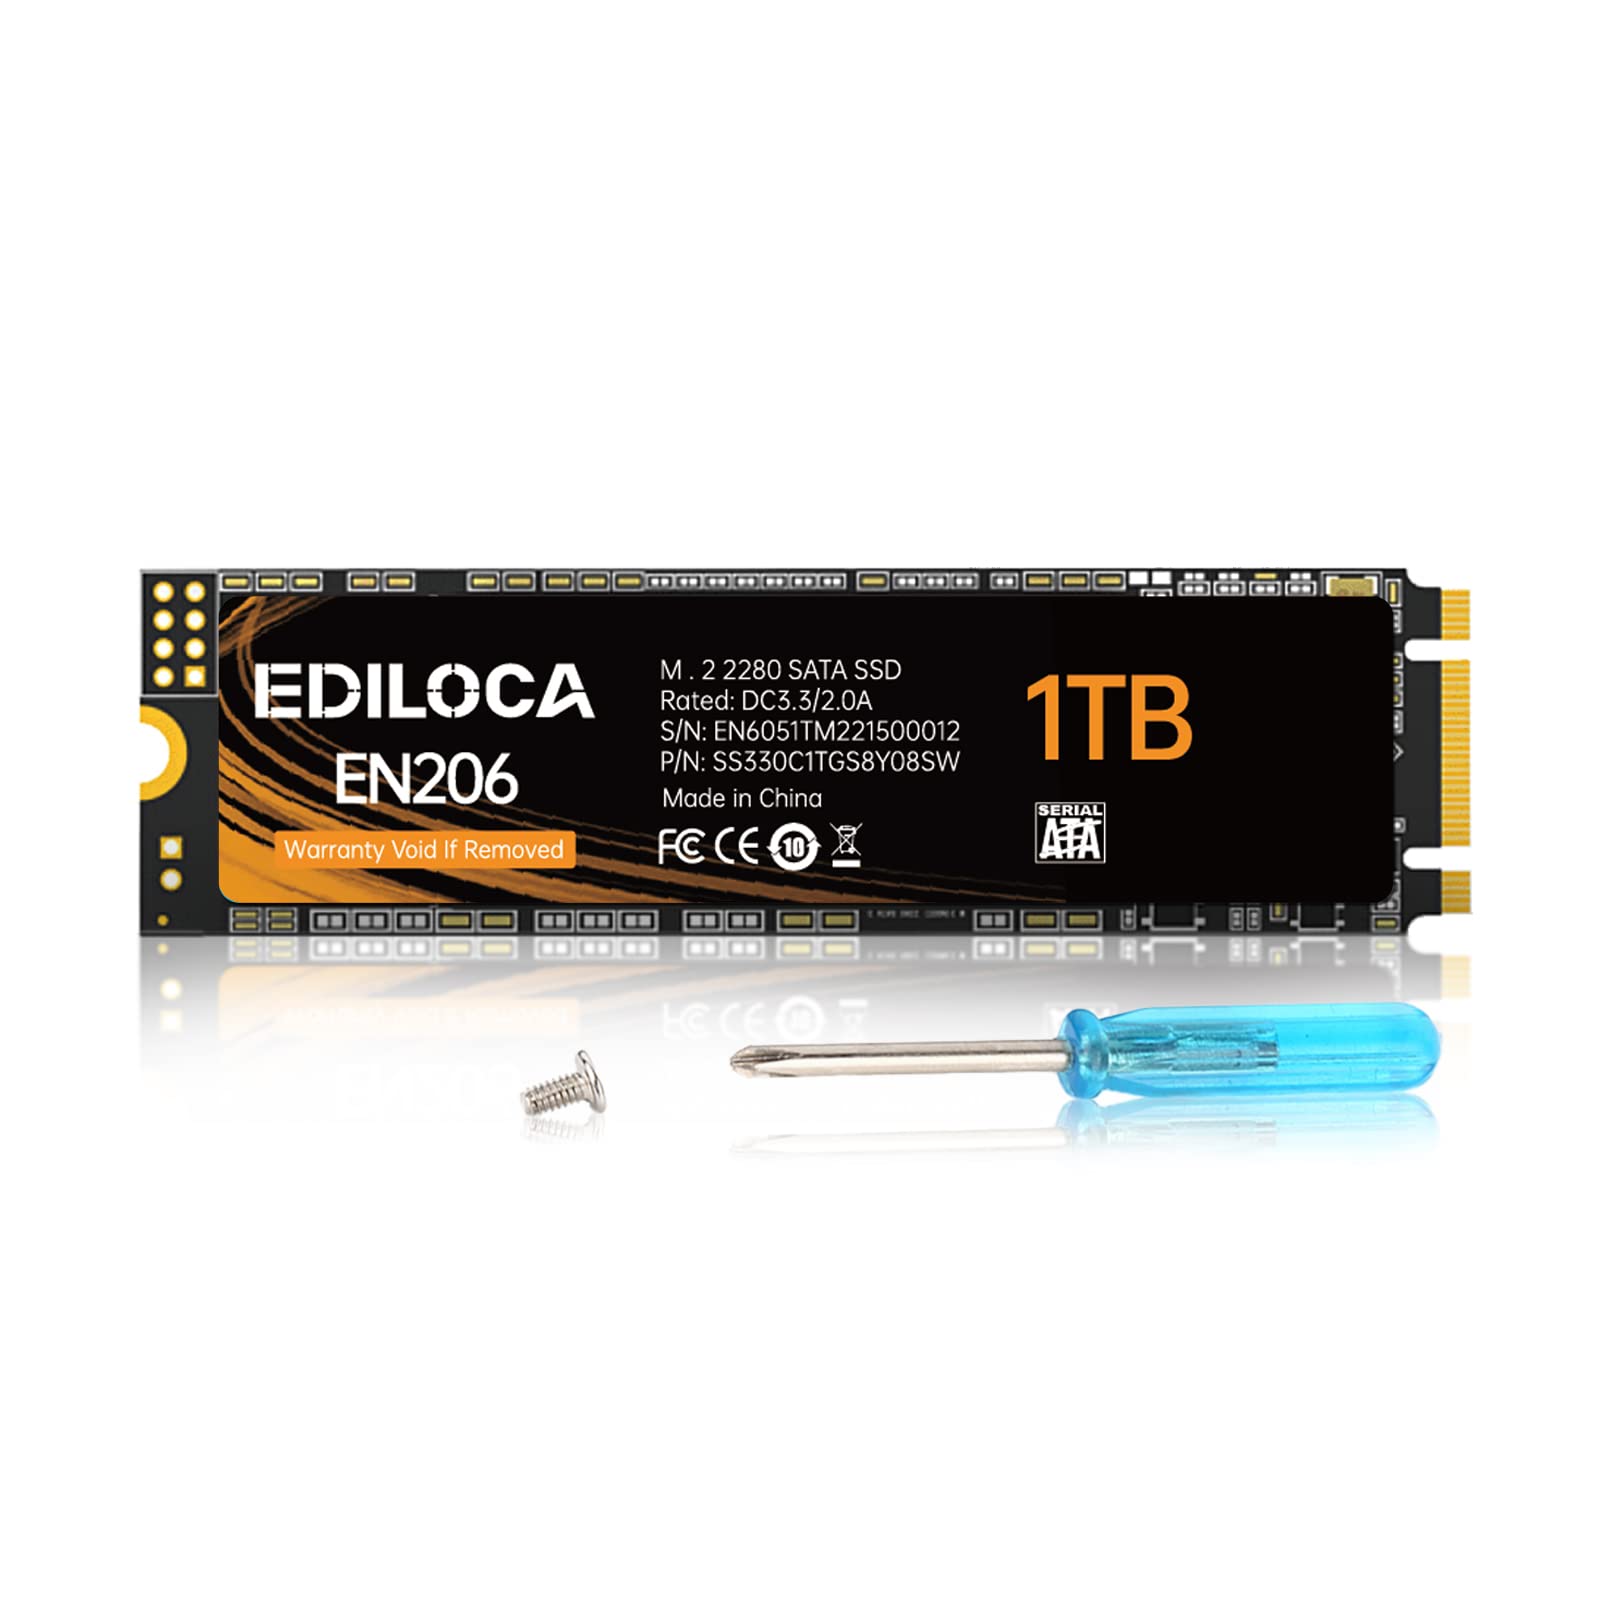
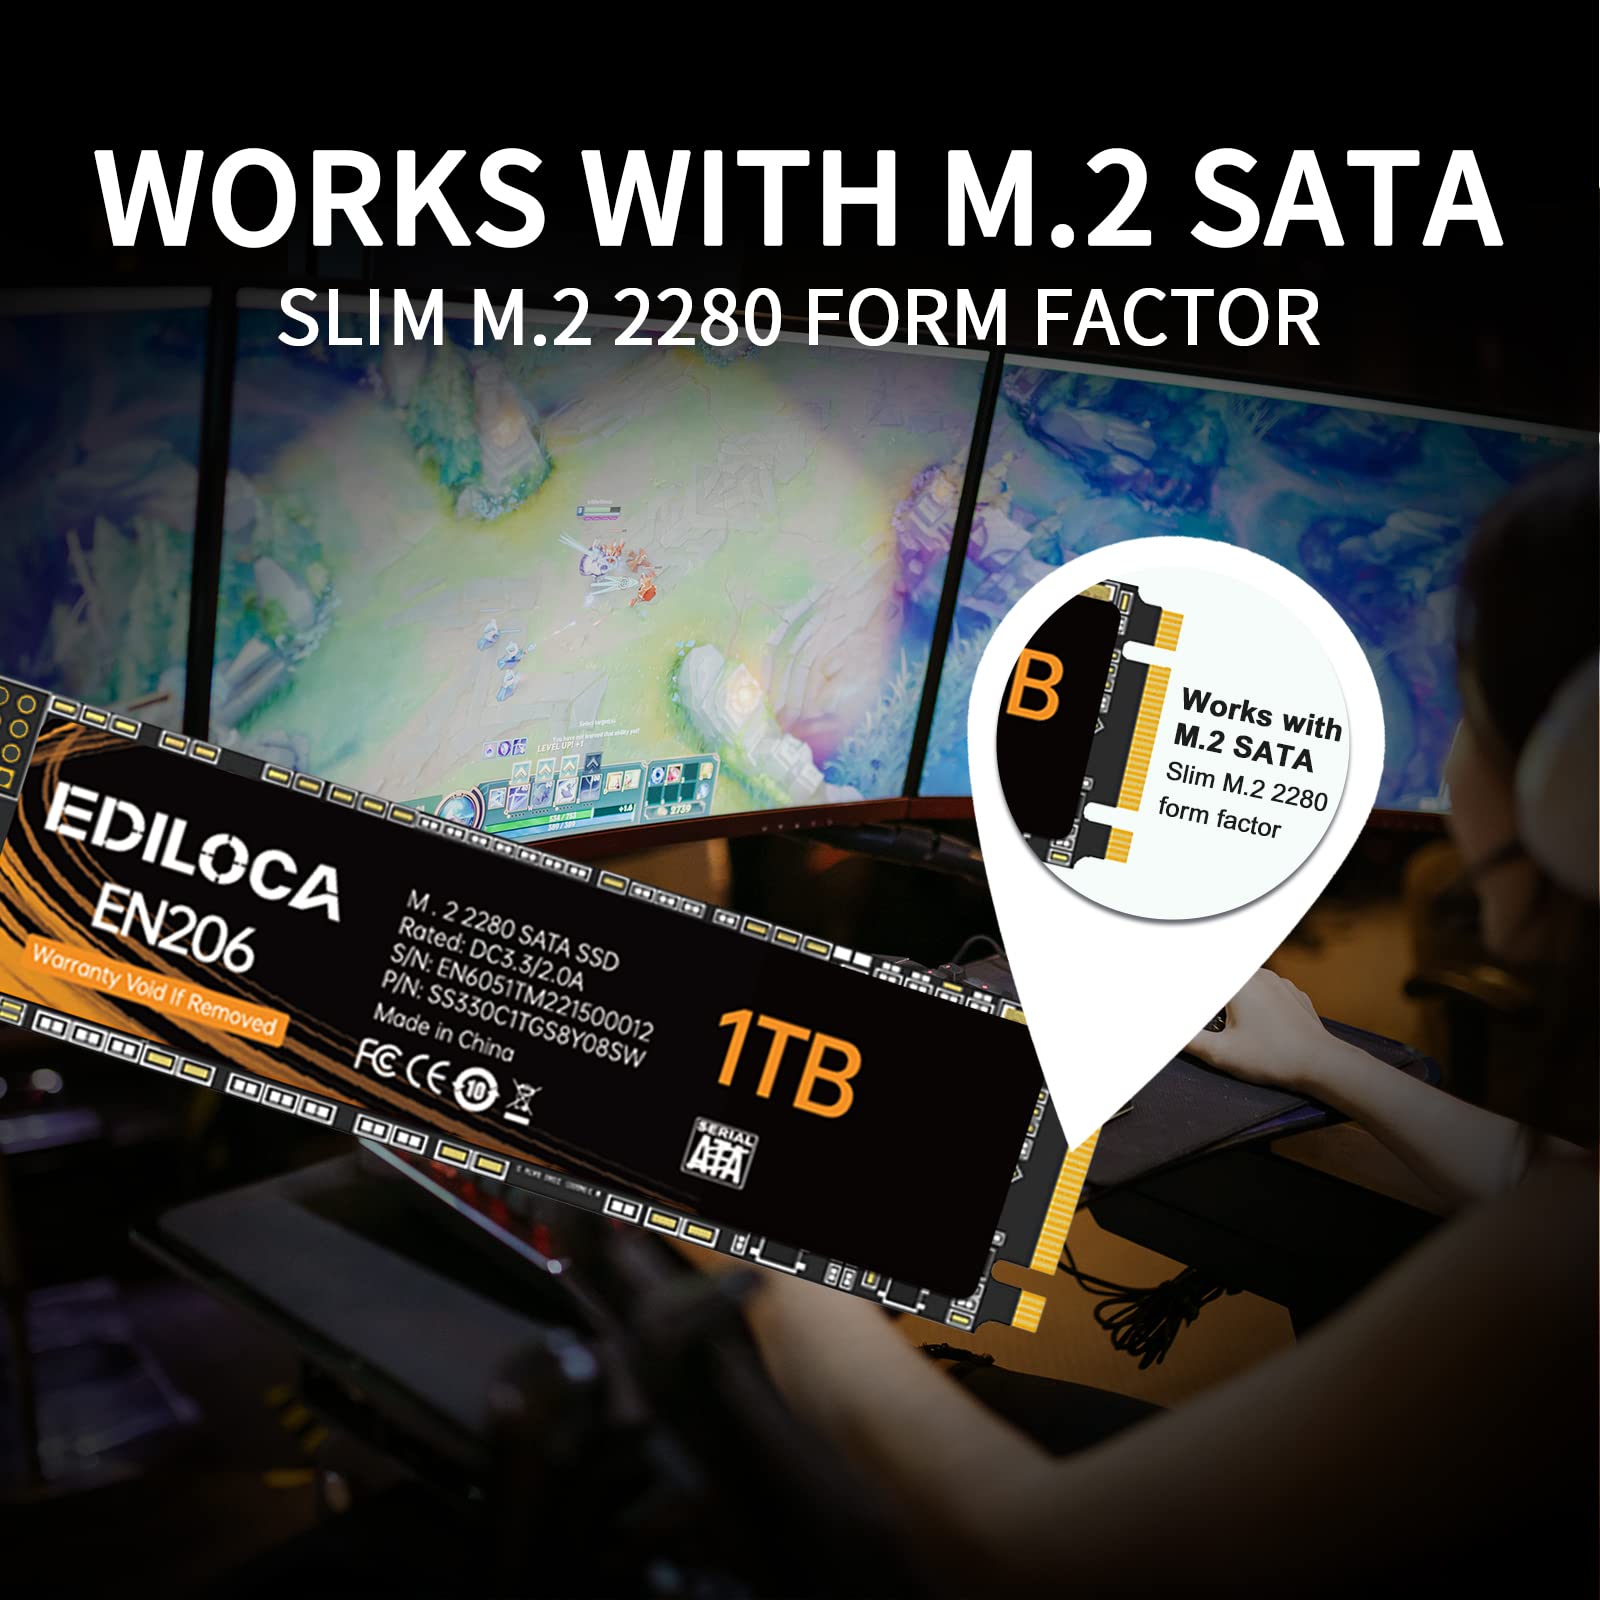
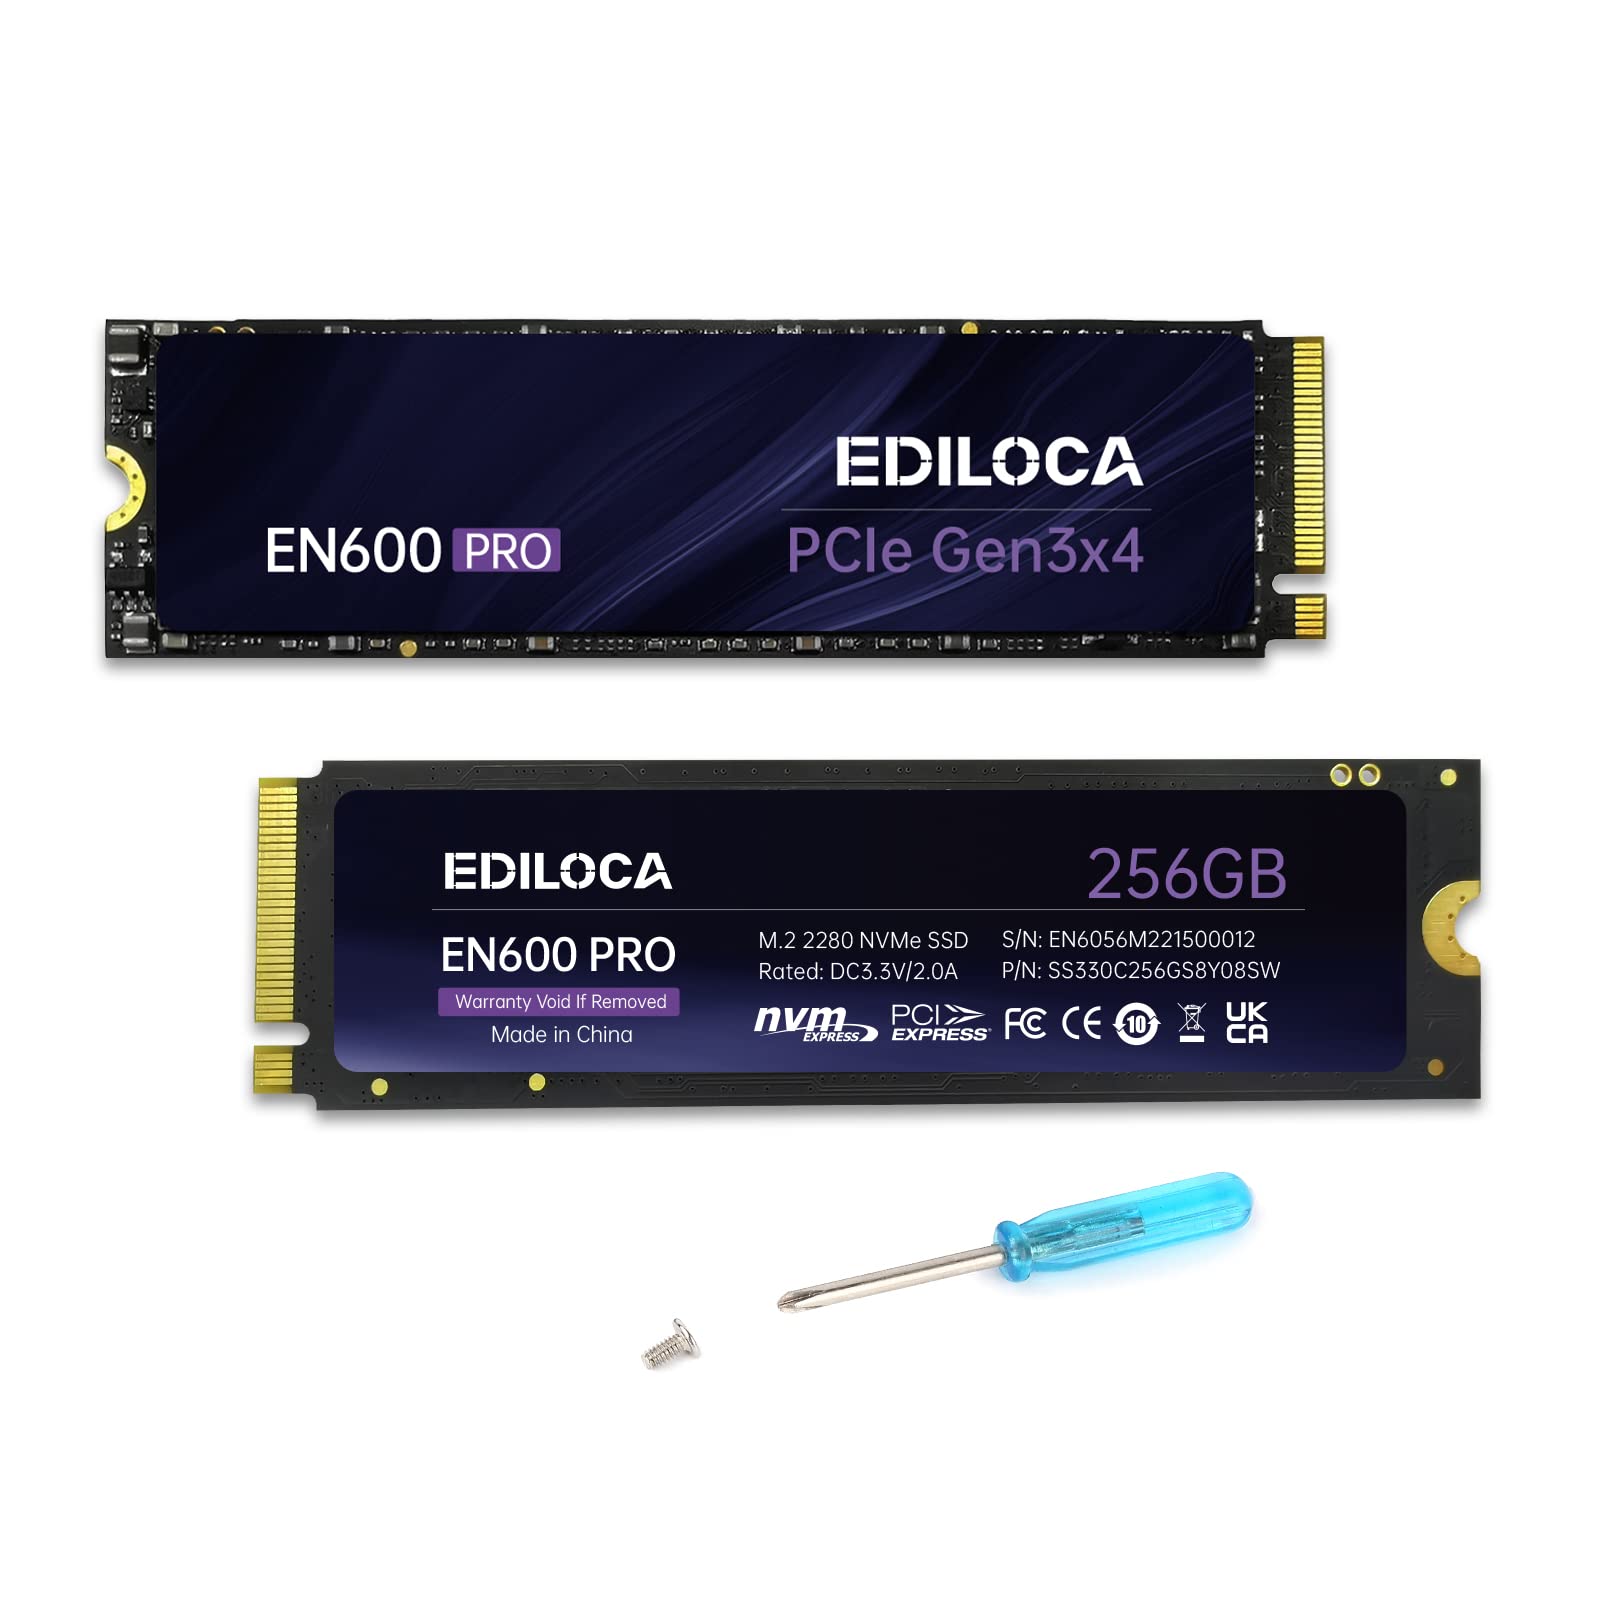
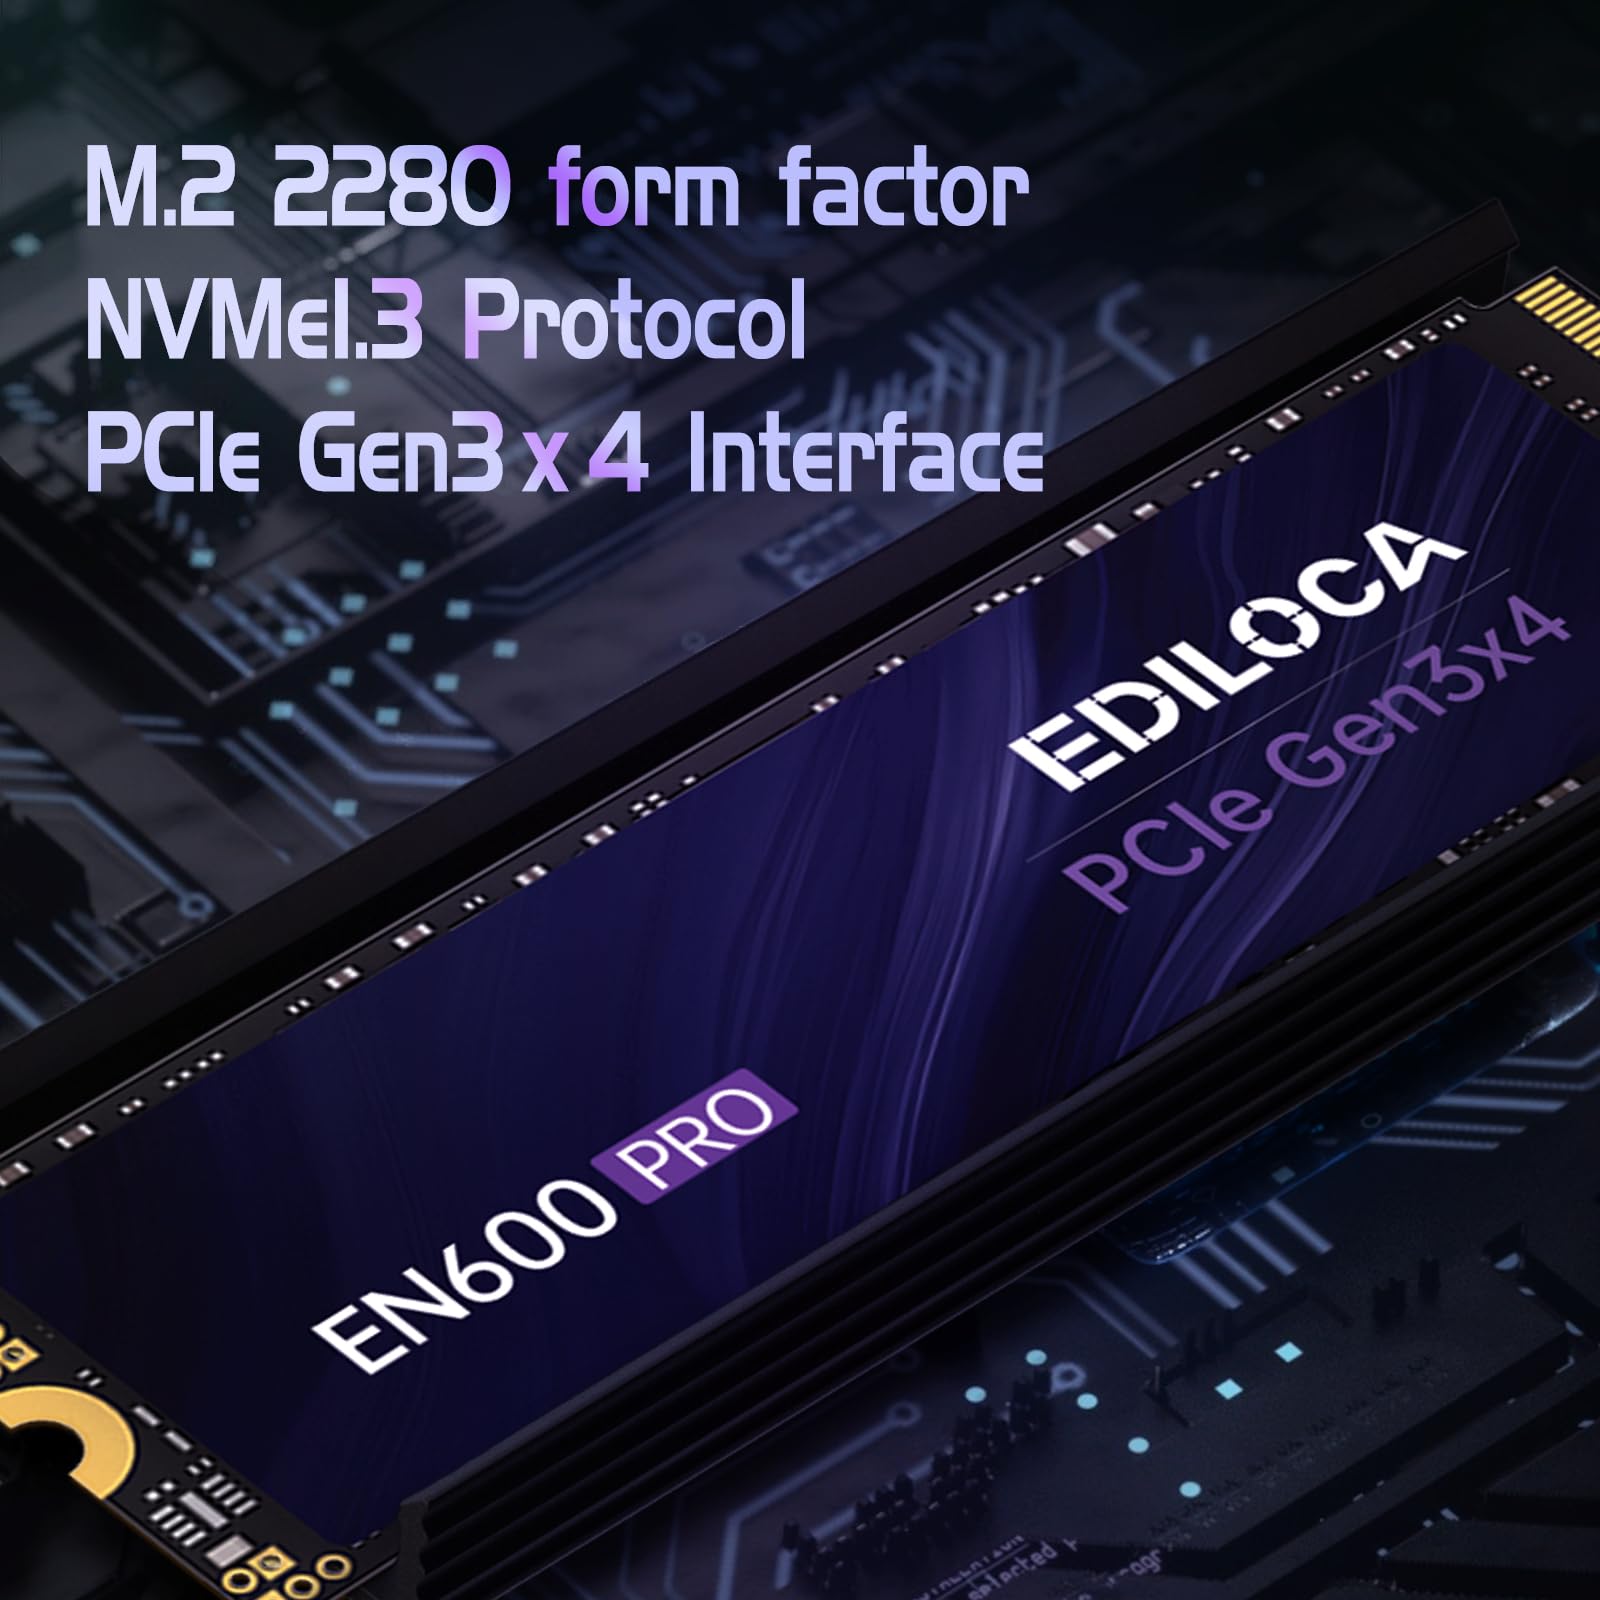
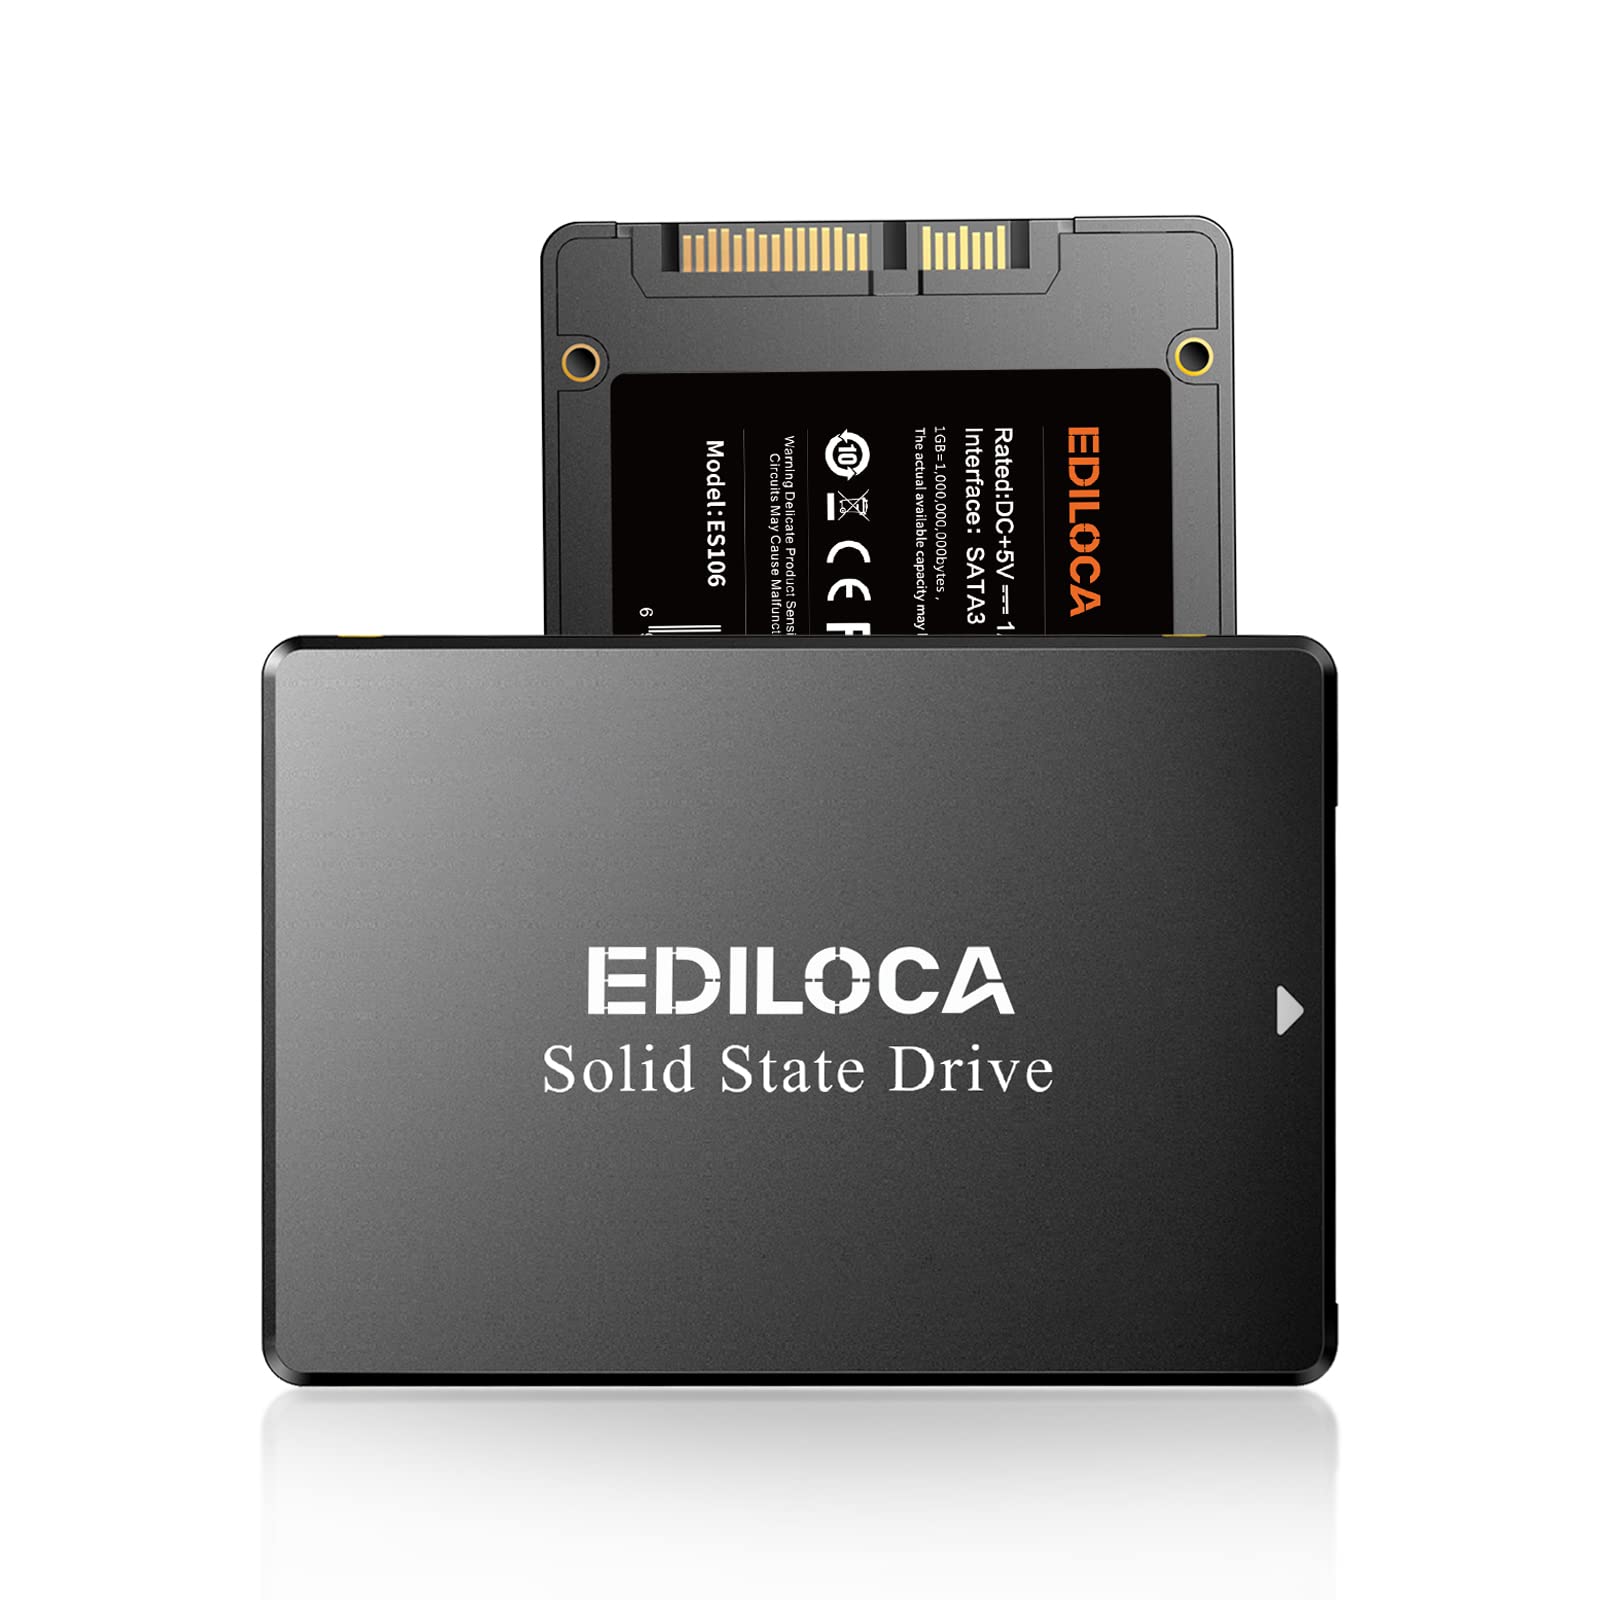
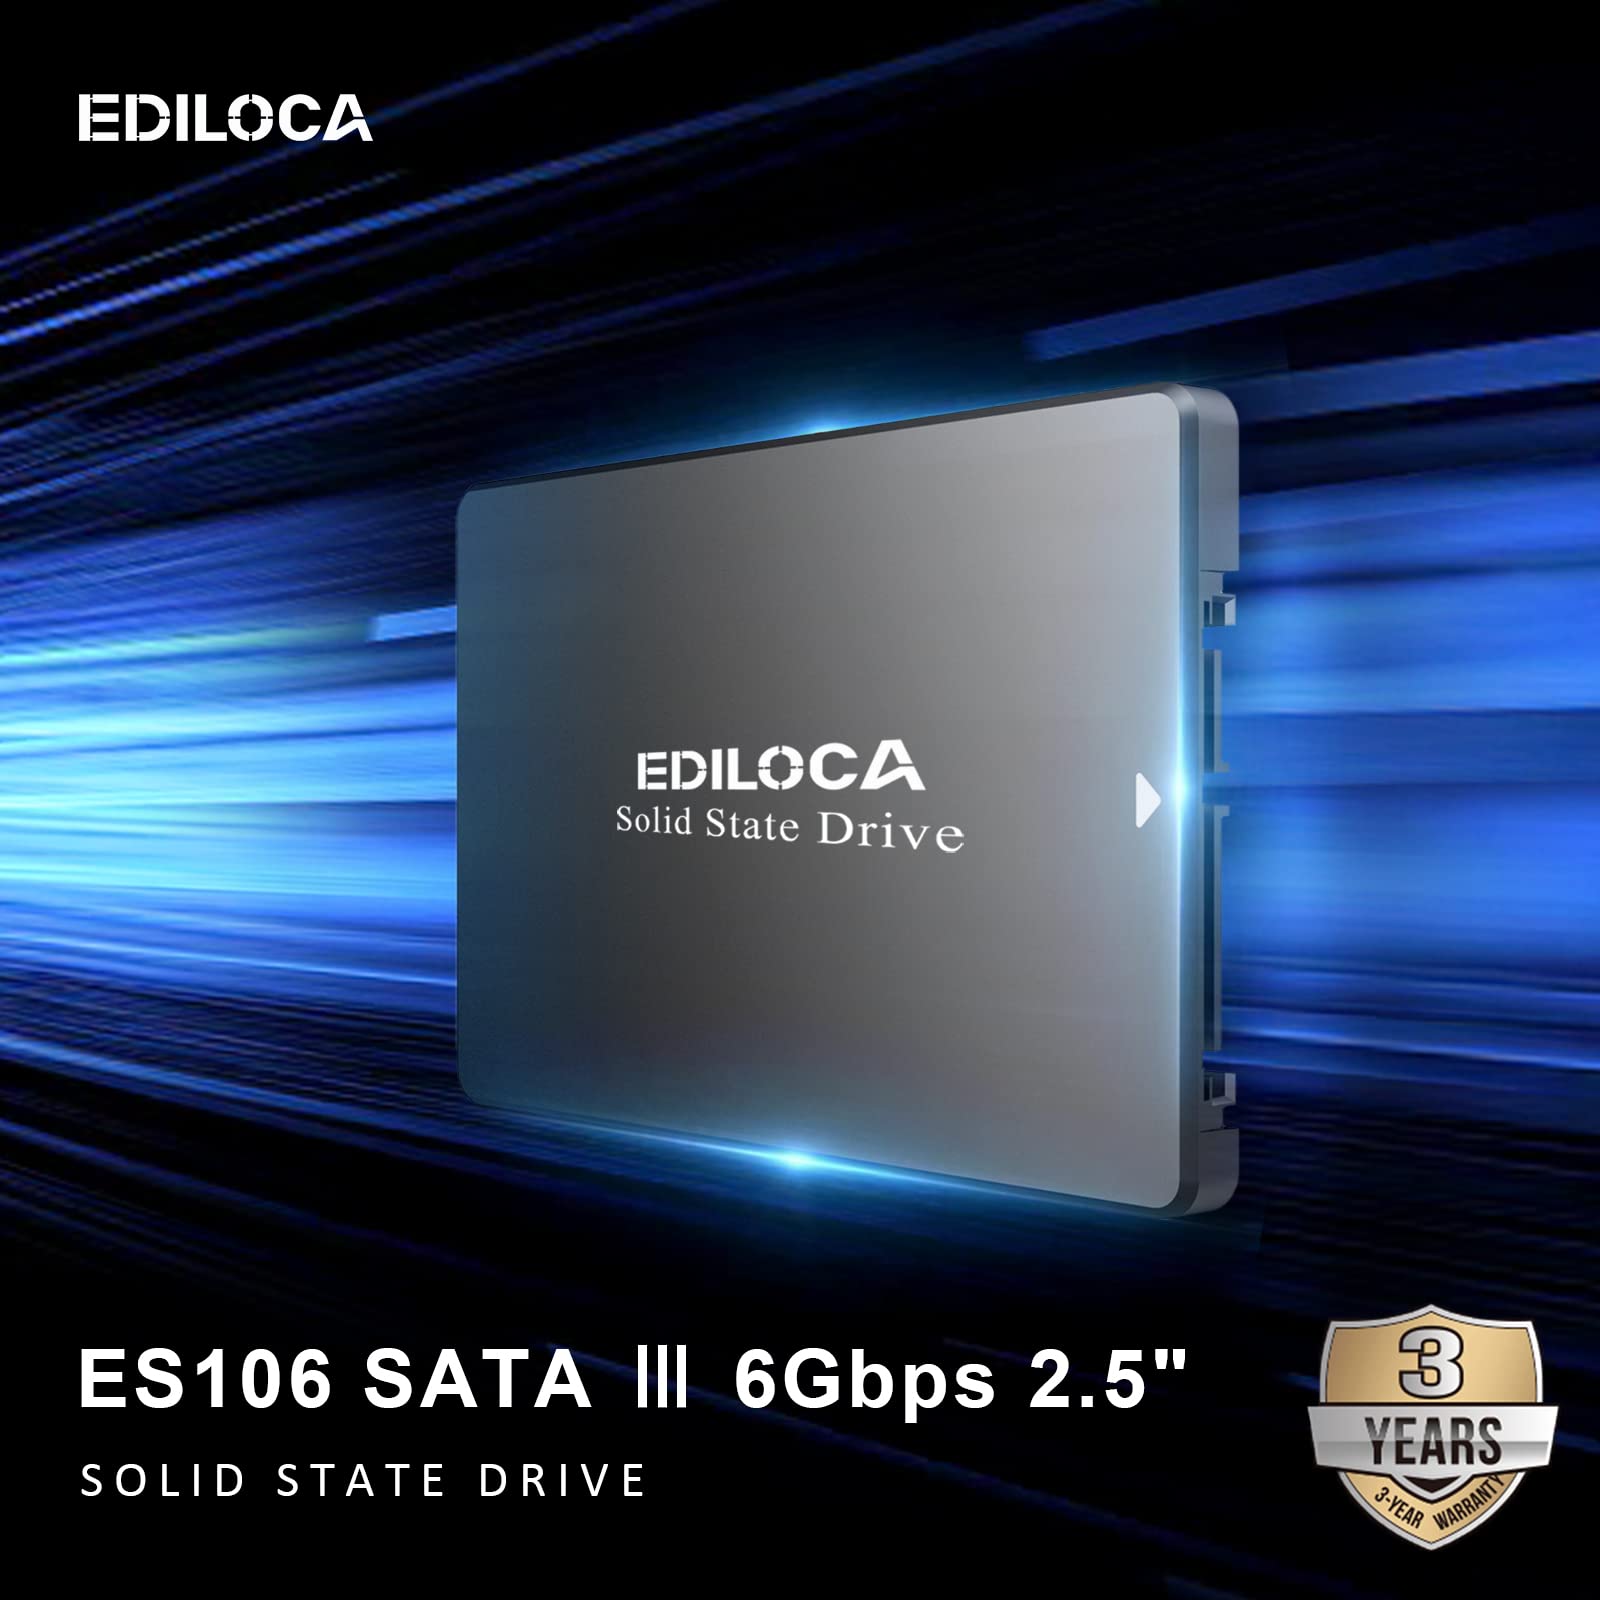
Install Storage and Expansion Cards: Install SSDs/HDDs into drive bays and connect them to the motherboard. Install the GPU into the PCIe slot and connect power cables.
-
Connect Cables: Connect front panel headers, case fans, and power cables from the PSU to the motherboard, GPU, and drives.
-
Cable Management: Organize cables neatly, ensuring good airflow and a tidy interior.
4. Power On and Test
-
Double-Check Connections: Verify all connections are secure before powering on the PC.
-
Boot and Test: Power on the PC and enter the BIOS to confirm that all components are recognized. Install the operating system from a bootable USB drive.

5. Post-Build Considerations
-
Driver and Software Installation: Install drivers for motherboard, GPU, and other components. Update the operating system and essential software.
-
Monitor Temperatures and Performance: Use monitoring software to check temperatures and system stability, ensuring everything runs smoothly.
Conclusion
Building your own PC allows for customization, cost-effectiveness, and a deeper understanding of computer hardware. While the process might seem daunting at first, following a systematic approach and referring to component manuals or online tutorials can help you navigate the build process with confidence. With patience and attention to detail, you can create a personalized, high-performance PC tailored to your needs.

Leave a comment
This site is protected by hCaptcha and the hCaptcha Privacy Policy and Terms of Service apply.